Understanding the Importance of Computer Maintenance
In today’s digital age, computers have become indispensable tools for work, education, and entertainment. However, many users overlook one crucial aspect of computer ownership: proper cleaning and maintenance. Regular computer cleaning isn’t just about aesthetics—it’s essential for optimal performance, longevity, and preventing costly repairs.
Dust, dirt, and debris accumulate inside and outside your computer over time, creating a breeding ground for problems. These contaminants can block ventilation systems, cause overheating, and even lead to component failure. Understanding how to clean your computer safely ensures you maintain peak performance while protecting your investment.
Essential Tools and Materials for Safe Computer Cleaning
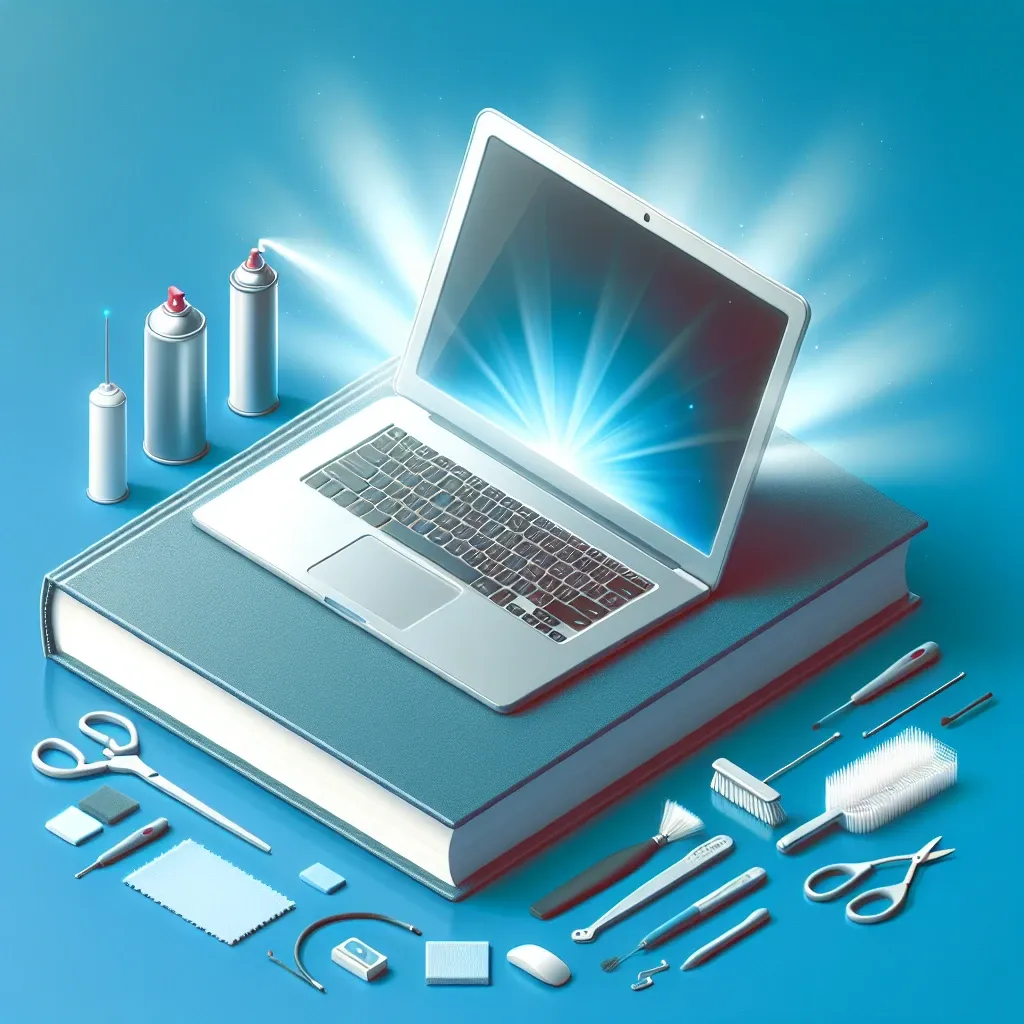
Before embarking on your computer cleaning journey, gathering the right tools is paramount. Professional technicians rely on specific equipment to ensure thorough cleaning without causing damage. Here’s what you’ll need:
- Compressed air cans or electric air blowers
- Microfiber cloths (lint-free)
- Isopropyl alcohol (70% or higher concentration)
- Cotton swabs or foam swabs
- Anti-static wrist strap
- Small Phillips head screwdriver
- Soft-bristled brush or old toothbrush
- Vacuum cleaner with brush attachment
These tools form the foundation of safe computer cleaning. Each serves a specific purpose and helps prevent the common mistakes that can damage sensitive electronic components.
Preparing Your Computer for Cleaning
Safety should always be your primary concern when cleaning electronic devices. Before touching any component, follow these essential preparation steps:
Power Down and Disconnect
Always shut down your computer completely and unplug it from the power source. For laptops, remove the battery if possible. This step prevents electrical shock and protects components from static discharge damage.
Ground Yourself
Static electricity poses a significant threat to computer components. Use an anti-static wrist strap or frequently touch a grounded metal surface to discharge static buildup. This simple precaution can save you from expensive component replacements.
Document Cable Connections
Before disconnecting any cables, take photos of your setup. This documentation proves invaluable when reassembling everything, especially for complex desktop configurations with multiple peripherals.
Cleaning the Computer Exterior
The exterior cleaning process varies depending on whether you’re working with a desktop or laptop computer. Both require gentle techniques to avoid damaging surfaces and ports.
Desktop Computer Cases
Desktop cases accumulate dust, fingerprints, and grime over time. Start by using a microfiber cloth slightly dampened with isopropyl alcohol to wipe down all surfaces. Pay special attention to areas around ports and ventilation grilles where dust tends to accumulate.
For stubborn stains or built-up grime, use cotton swabs dipped in isopropyl alcohol to clean detailed areas. Avoid using excessive moisture, as liquid can seep into components and cause damage.
Laptop Cleaning Techniques
Laptops require more delicate handling due to their integrated design. Clean the lid, palm rest, and bottom panel using the same microfiber cloth and alcohol technique. Be particularly careful around the keyboard area and avoid getting moisture into any openings.
Internal Component Cleaning
Internal cleaning requires more technical knowledge and careful handling. This process involves opening your computer case and accessing sensitive components.
Accessing Internal Components
For desktop computers, remove the side panel by unscrewing the appropriate screws. Most modern cases use thumb screws for tool-free access. Laptops typically require removing the bottom panel, though some models have dedicated access panels for specific components.
Dust Removal Strategies
Compressed air is your best friend for internal cleaning. Hold the can upright and use short bursts to avoid condensation. Focus on these critical areas:
- CPU heatsink and fan
- Graphics card fans and heatsink
- Power supply unit
- Case fans
- RAM slots
- Motherboard surfaces
When cleaning fans, hold the blades steady to prevent them from spinning freely, which can generate electricity and potentially damage components.
Keyboard and Screen Cleaning
Keyboards and screens require special attention due to their frequent use and sensitivity to cleaning agents.
Keyboard Maintenance
Turn your keyboard upside down and gently shake it to remove loose debris. Use compressed air to blow out particles between keys. For deeper cleaning, you can carefully remove individual keys (research your specific keyboard model first) and clean underneath.
Clean key surfaces with slightly damp microfiber cloths and isopropyl alcohol. Avoid soaking the keyboard, as moisture can damage the underlying electronics.
Monitor and Screen Care
Modern screens have delicate coatings that can be damaged by harsh chemicals. Use only distilled water or specialized screen cleaning solutions. Apply the cleaner to a microfiber cloth, never directly to the screen, and wipe in gentle circular motions.
Ventilation System Maintenance
Proper airflow is crucial for computer health. Blocked ventilation systems lead to overheating, reduced performance, and premature component failure.
Fan Cleaning Procedures
Fans accumulate dust quickly and require regular attention. Use compressed air to blow dust away from the fan blades and housing. For heavily soiled fans, you may need to remove them completely for thorough cleaning with a soft brush and isopropyl alcohol.
Heat Sink Maintenance
CPU and GPU heat sinks often become clogged with dust, reducing their cooling efficiency. Carefully blow out accumulated debris, working from multiple angles to ensure complete removal. Be patient—this process may require several passes to achieve optimal results.
Software-Based Cleaning
Physical cleaning represents only half of comprehensive computer maintenance. Software cleaning is equally important for optimal performance.
Disk Cleanup and Optimization
Regular disk cleanup removes temporary files, browser cache, and other digital clutter that slows down your system. Use built-in tools like Windows Disk Cleanup or third-party alternatives to free up valuable storage space.
Registry and System File Maintenance
Over time, your operating system accumulates obsolete registry entries and corrupted system files. Regular maintenance using tools like System File Checker (SFC) or registry cleaners helps maintain system stability and performance.
Frequency and Scheduling
Establishing a regular cleaning schedule prevents problems before they occur. The frequency depends on your environment and usage patterns.
Environmental Factors
Computers in dusty environments, pet-friendly homes, or areas with heavy foot traffic require more frequent cleaning. Consider your specific situation when planning maintenance schedules.
Recommended Cleaning Schedule
For most users, a quarterly deep cleaning combined with monthly quick cleanings provides optimal results. High-usage environments may require monthly deep cleanings and weekly quick maintenance.
Common Mistakes to Avoid
Even well-intentioned cleaning efforts can cause damage if done incorrectly. Avoid these common pitfalls:
- Using household cleaners containing ammonia or bleach
- Applying excessive pressure when cleaning
- Cleaning while components are powered
- Using vacuum cleaners directly on internal components
- Ignoring anti-static precautions
- Rushing the cleaning process
Professional vs. DIY Cleaning
While many cleaning tasks can be performed safely at home, some situations warrant professional intervention. Consider professional services for:
- Liquid spill damage
- Extensive internal contamination
- Warranty-covered devices
- High-value equipment
- Situations requiring component replacement
Conclusion
Proper computer cleaning is an investment in your device’s longevity and performance. By following these comprehensive guidelines and maintaining a regular cleaning schedule, you’ll ensure your computer operates at peak efficiency for years to come. Remember, patience and attention to detail are your best allies in this process. Regular maintenance not only protects your investment but also provides a more pleasant and productive computing experience.
Take the time to clean your computer properly, and it will reward you with reliable performance, extended lifespan, and fewer frustrating technical issues. Your future self will thank you for the effort invested in proper computer care today.


